I can remember in an art class at school when we developed a print from a black and white negative, that was my life changing moment, I was hooked, I knew what I wanted to be, a photographer. Printing was one of my passions when I was studying for my degree in photography and loved the whole process of developing the black and white film and then making the prints. I still miss this part of photography, but guess nowadays black and white photography is much easier with software and has reduced the use of toxic chemicals.
I am a freelance travel and garden photographer and also run photography holidays, and on these I always say to my guests “See in colour, think black and white”. Black and white can often work better for you on even dull days or misty ones, such as this misty morning on Ha Long Bay.

I liked the different tones in this scene and knew it would work well as a black and white image. Pre-visualising your result is important and having a knowledge of the zone system is also valuable.
To produce digital black and white images these are some of the steps I use.
When taking the photograph shoot in colour and in RAW mode, colour space Adobe RGB. You will have far more control over the finished result photographing in colour and then making a black & white conversion using image processing software on your computer.
It is best to shoot on the lowest ISO possible when photographing for black & white images. At high ISO`s, noise (grain) is more evident, the lower the ISO the less noise. If you want to make the final image more grainy then it is best to add this afterwards in post production software such as Lightroom.
Having first visited Bagan in Myanmar (Burma) over 10 years ago for a shoot for National Geographic I fell in love with the place and it still remains one of my favourite places on the planet. There are over 4,000 temples dotted on the plains and the whole area has an ethereal, timeless feeling. I have been returning to Bagan ever since my first visit and have been working on a series of black and white images. I had already pre-visualised the set of black and white images of the temples and for this series I shot the originals in colour and converted them to black & white in Lightroom.
When you wet processed black and white prints, each make of paper would have a certain quality, feel and tone to them. A favourite of mine used to be Kentmere Bromide paper, which had rich neutral blacks, a brilliant base white and superb tonal rendition. I used to use this paper for selenium toned prints to produce a warm feel. To replicate this feel, in the develop mode of Lightroom I use the split tone function.

I produced a set of photographs of Bagan that won an award in the travel category of the International Photography Awards. If you are producing a series of photographs that will be seen together it’s best to keep the same tone for each print so they work well together.

In the develop mode of Lightroom, in the ‘tone curve’ you can alter the contrast of the photograph, much as you could with processing prints through choice of paper and processing. For the photograph above I adjusted the tone curve until I got the desired effect.

I tend not to use the main develop functions when producing a black and white image, apart from possibly a little clarity:

On a shoot at the Grand Canyon the light was truly working for me early one morning as the sun rose above the horizon. The shafts of sunlight through the moody clouds was a photographers dream.

I also thought this would make a lovely black and white. For this photograph I wanted a Kentmere Kentona photographic paper feel which featured a chloro-bromide emulsion to give warm deep rich blacks and a warm white base. For the image below I again converted it to B&W in Lightroom, altered the tone curves and split toned the image.

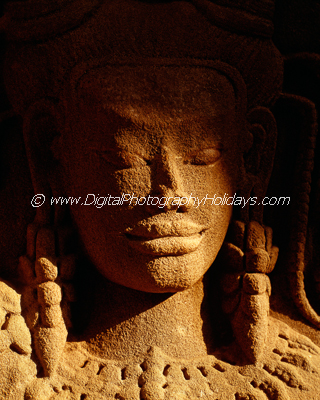
In Cambodia I was wandering around a rural village saying hello to people in the Khmer language, when I came across this lady. She spoke back to me in Khmer and I replied back, much to her amusement. She called out all her family and got me to speak to them. They all found it funny that I was speaking their language, as they spoke no English. I was invited to their house to drink sugar palm water with them, which is highly prized, it has a lovely sweet and very earthy taste to it.
I was just about to ask if I could take some photos, when the lady had already pointed at my camera and stood up, I always find it amazing that thought always seems to have no language barriers. I took some photos of her and when she looked at them on the back of the camera she gave me the seal of approval. It is these chance encounters that really make me buzz when I am on a travel photography assignment as I love meeting the people of the country.
I was pleased with the portrait and decided to convert the photograph to black & white in Lightroom and again split toned the image.

I wanted a black and white image that this time had an old Ilford Galerie photographic paper feel.

This was done by processing in Lightroom and using the tone curve and split toning to the desired effect. In this image note it has a cooler feel to it, with a little more blue hue in the shadows..
To recap, for black & white images, start thinking in black and white. Shoot in colour in RAW mode on the lowest ISO possible, then convert the final image in the post production software of your choice.
Next time you visit a photography exhibition or gallery that is displaying old wet process photographic prints take a close look at them and see the differing tones and contrasts, if you are lucky they will also display which paper they were printed on. You can use this feel of wet process photographic paper in your own digital prints.
Nowadays there are many different digital print papers on the market, these have different feels and tones too. Fine art digital printing is an art in itself, you really need a fully colour calibrated, controlled digital workflow to achieve the best results. Experiment, have fun and if you are producing black and whites for the web then try some of the techniques above, I’d love to see them.
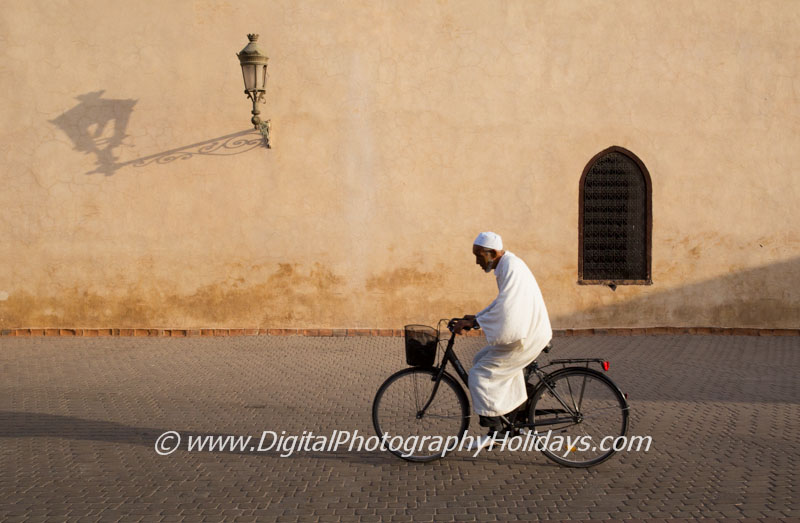
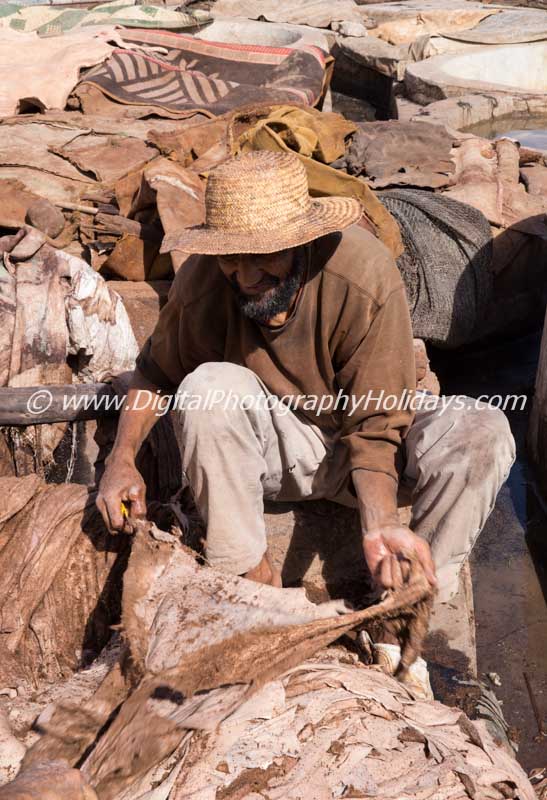
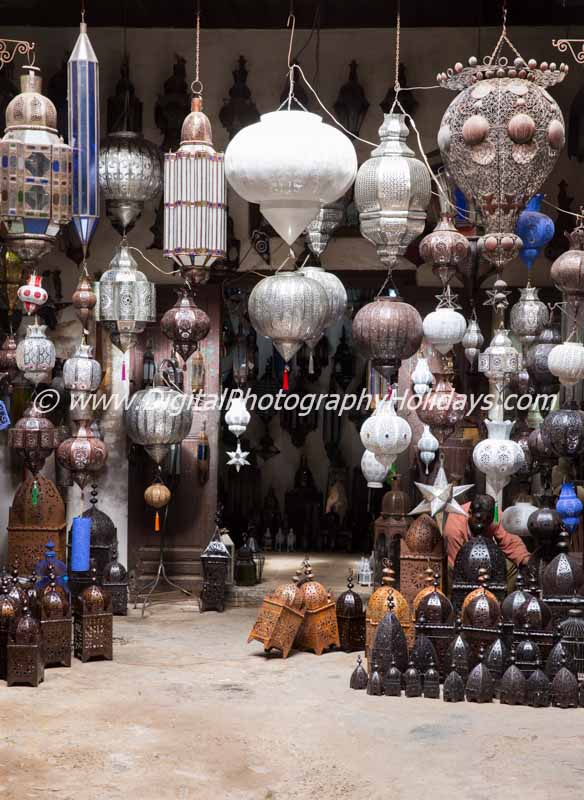
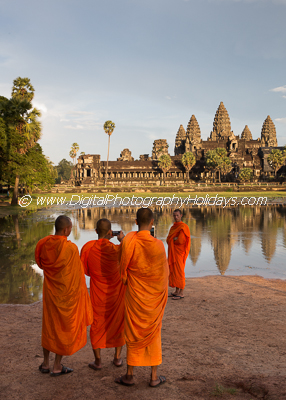
I run travel and landscape photography holidays and tours in Burma, Cambodia and Vietnam.
I also run landscape photography workshops and weekends in the Gower, Wales and Bluebell woods photography workshops in Gloucestershire, please visit the website for full itineraries and information: www.digitalphotographyholidays.com
Newsletter subscribers receive special offers throughout the year on my travel photography holidays and landscape photography workshops, you can subscribe here
‘May the light be with you’
Stay connected:
Facebook:
Instagram: @stephenstuddphotography/
Google +